10 Easy Bathroom Upgrades You Can Do Yourself
/We have officially lived in our new home for 9 months! We have spent countless hours on upgrades to make our house into our home. The one thing I can tell you is that there are so many upgrade options out there, some reasonable and some not. I'll be sharing what we used to upgrade our master bathroom to create a space that not only looks put together but a welcoming space to spend time in. Here are 10 easy bathroom upgrades you can do yourself.
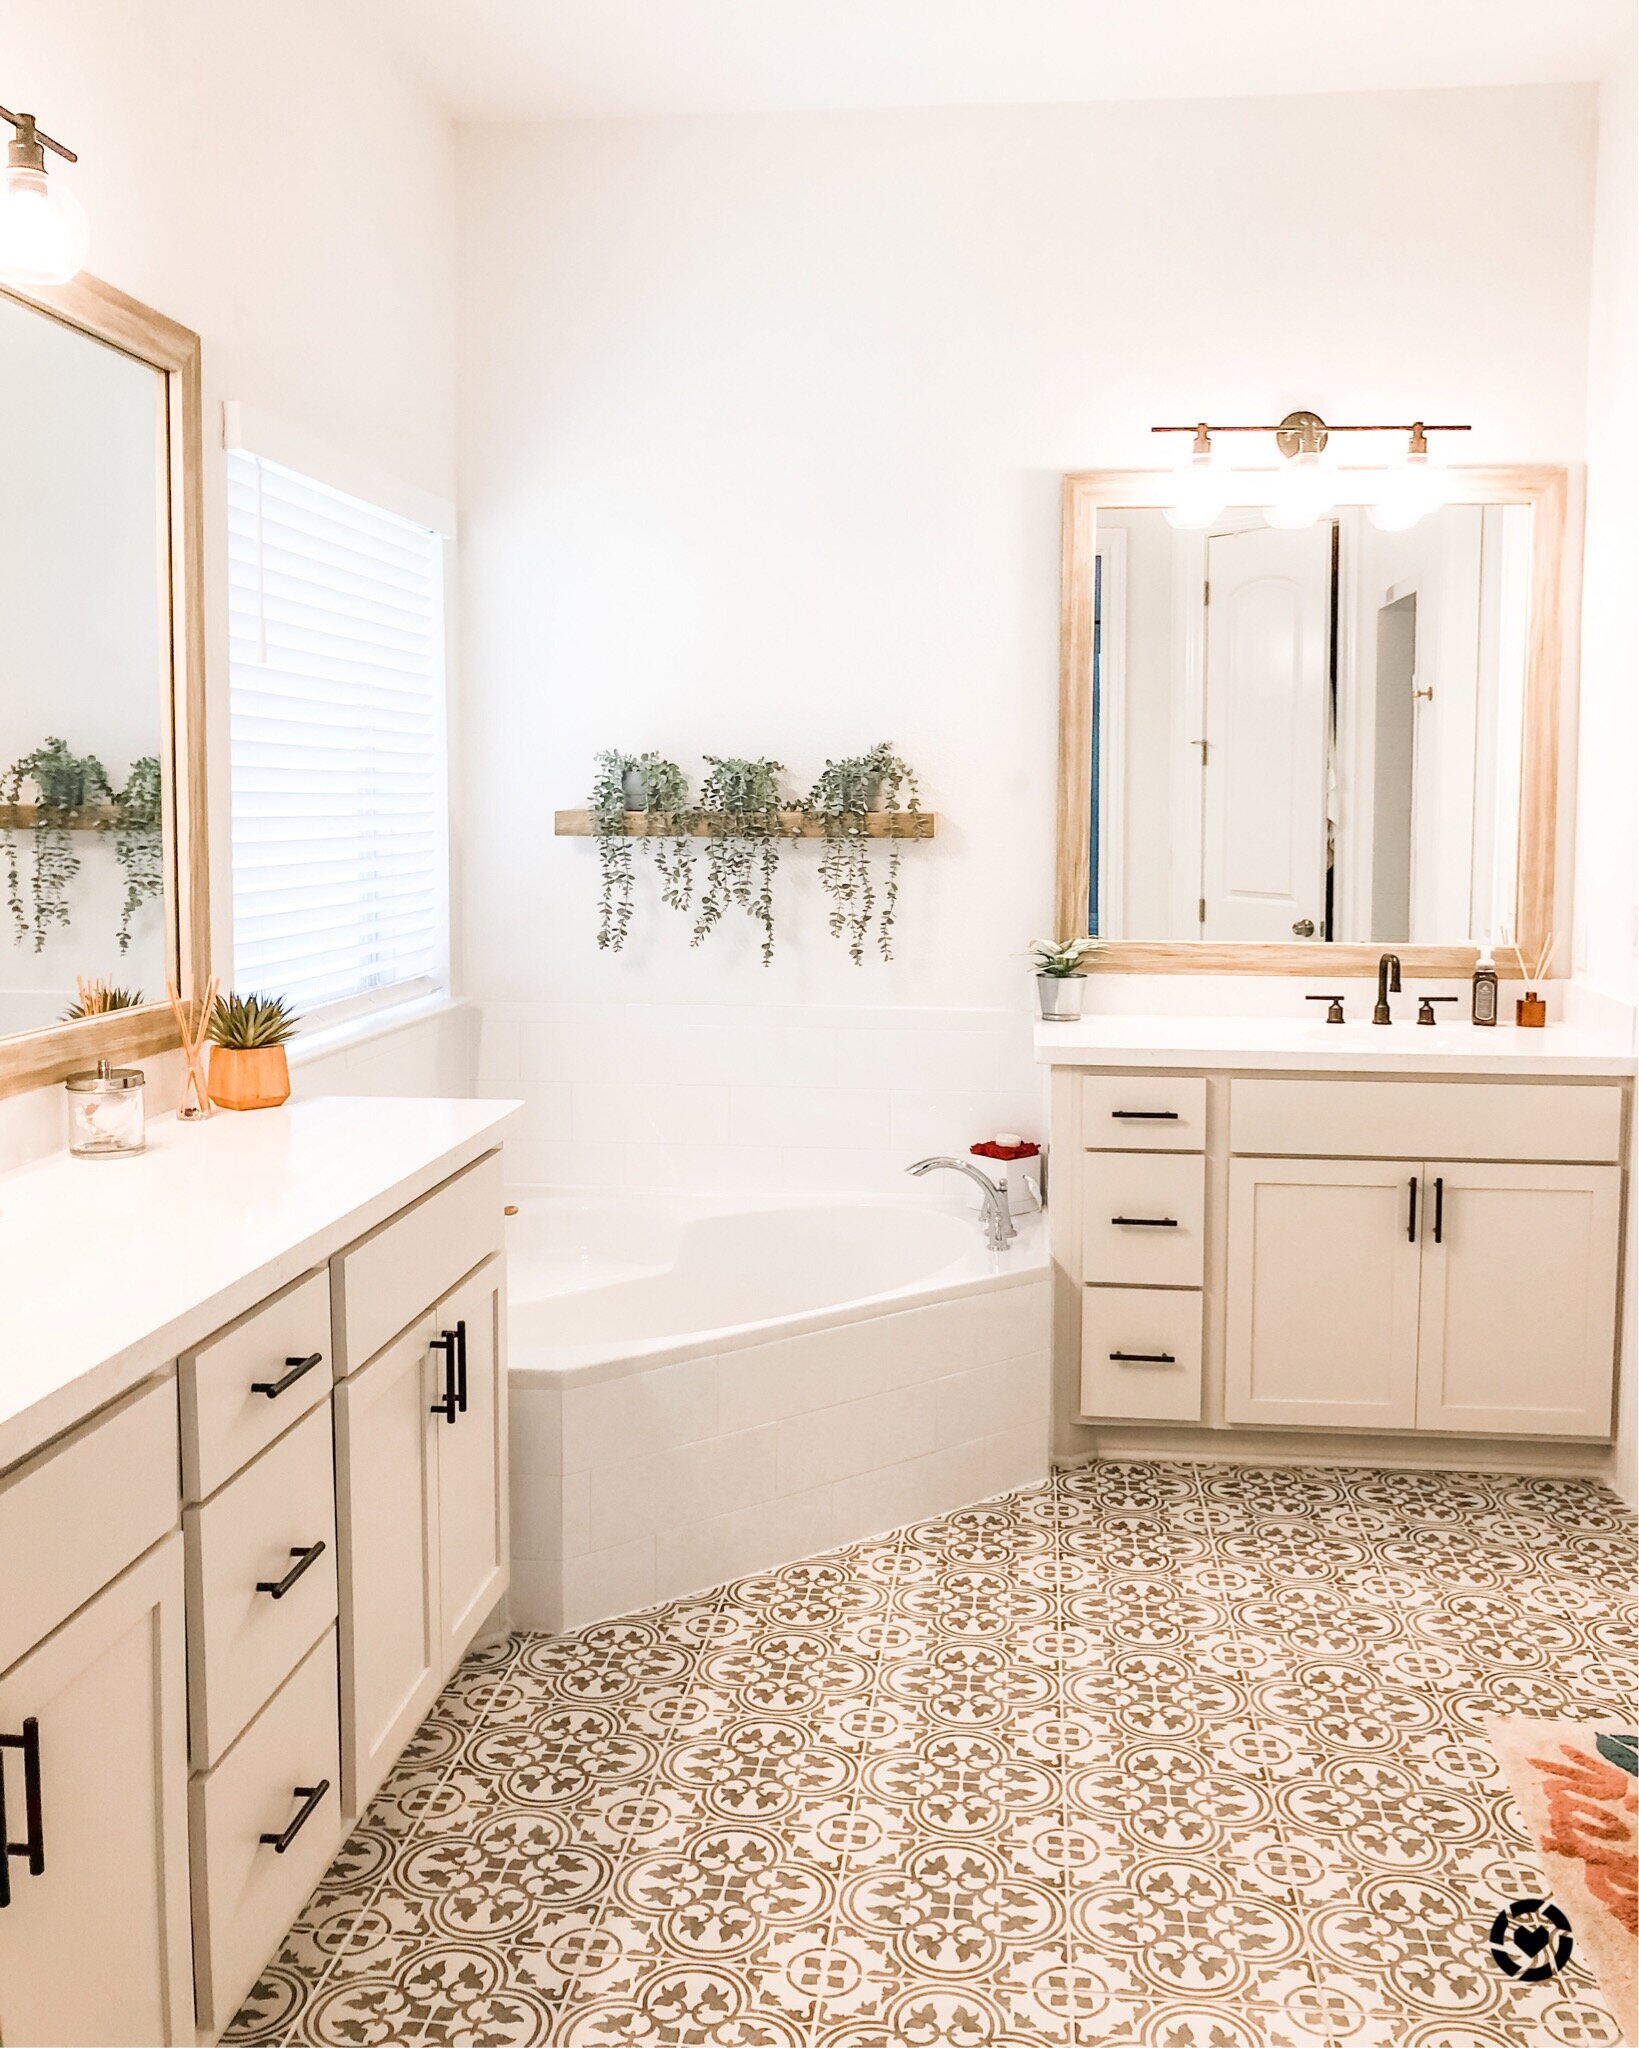
For our bathroom, we started out with pretty much a blank canvas. During the design process, we went with everything white.
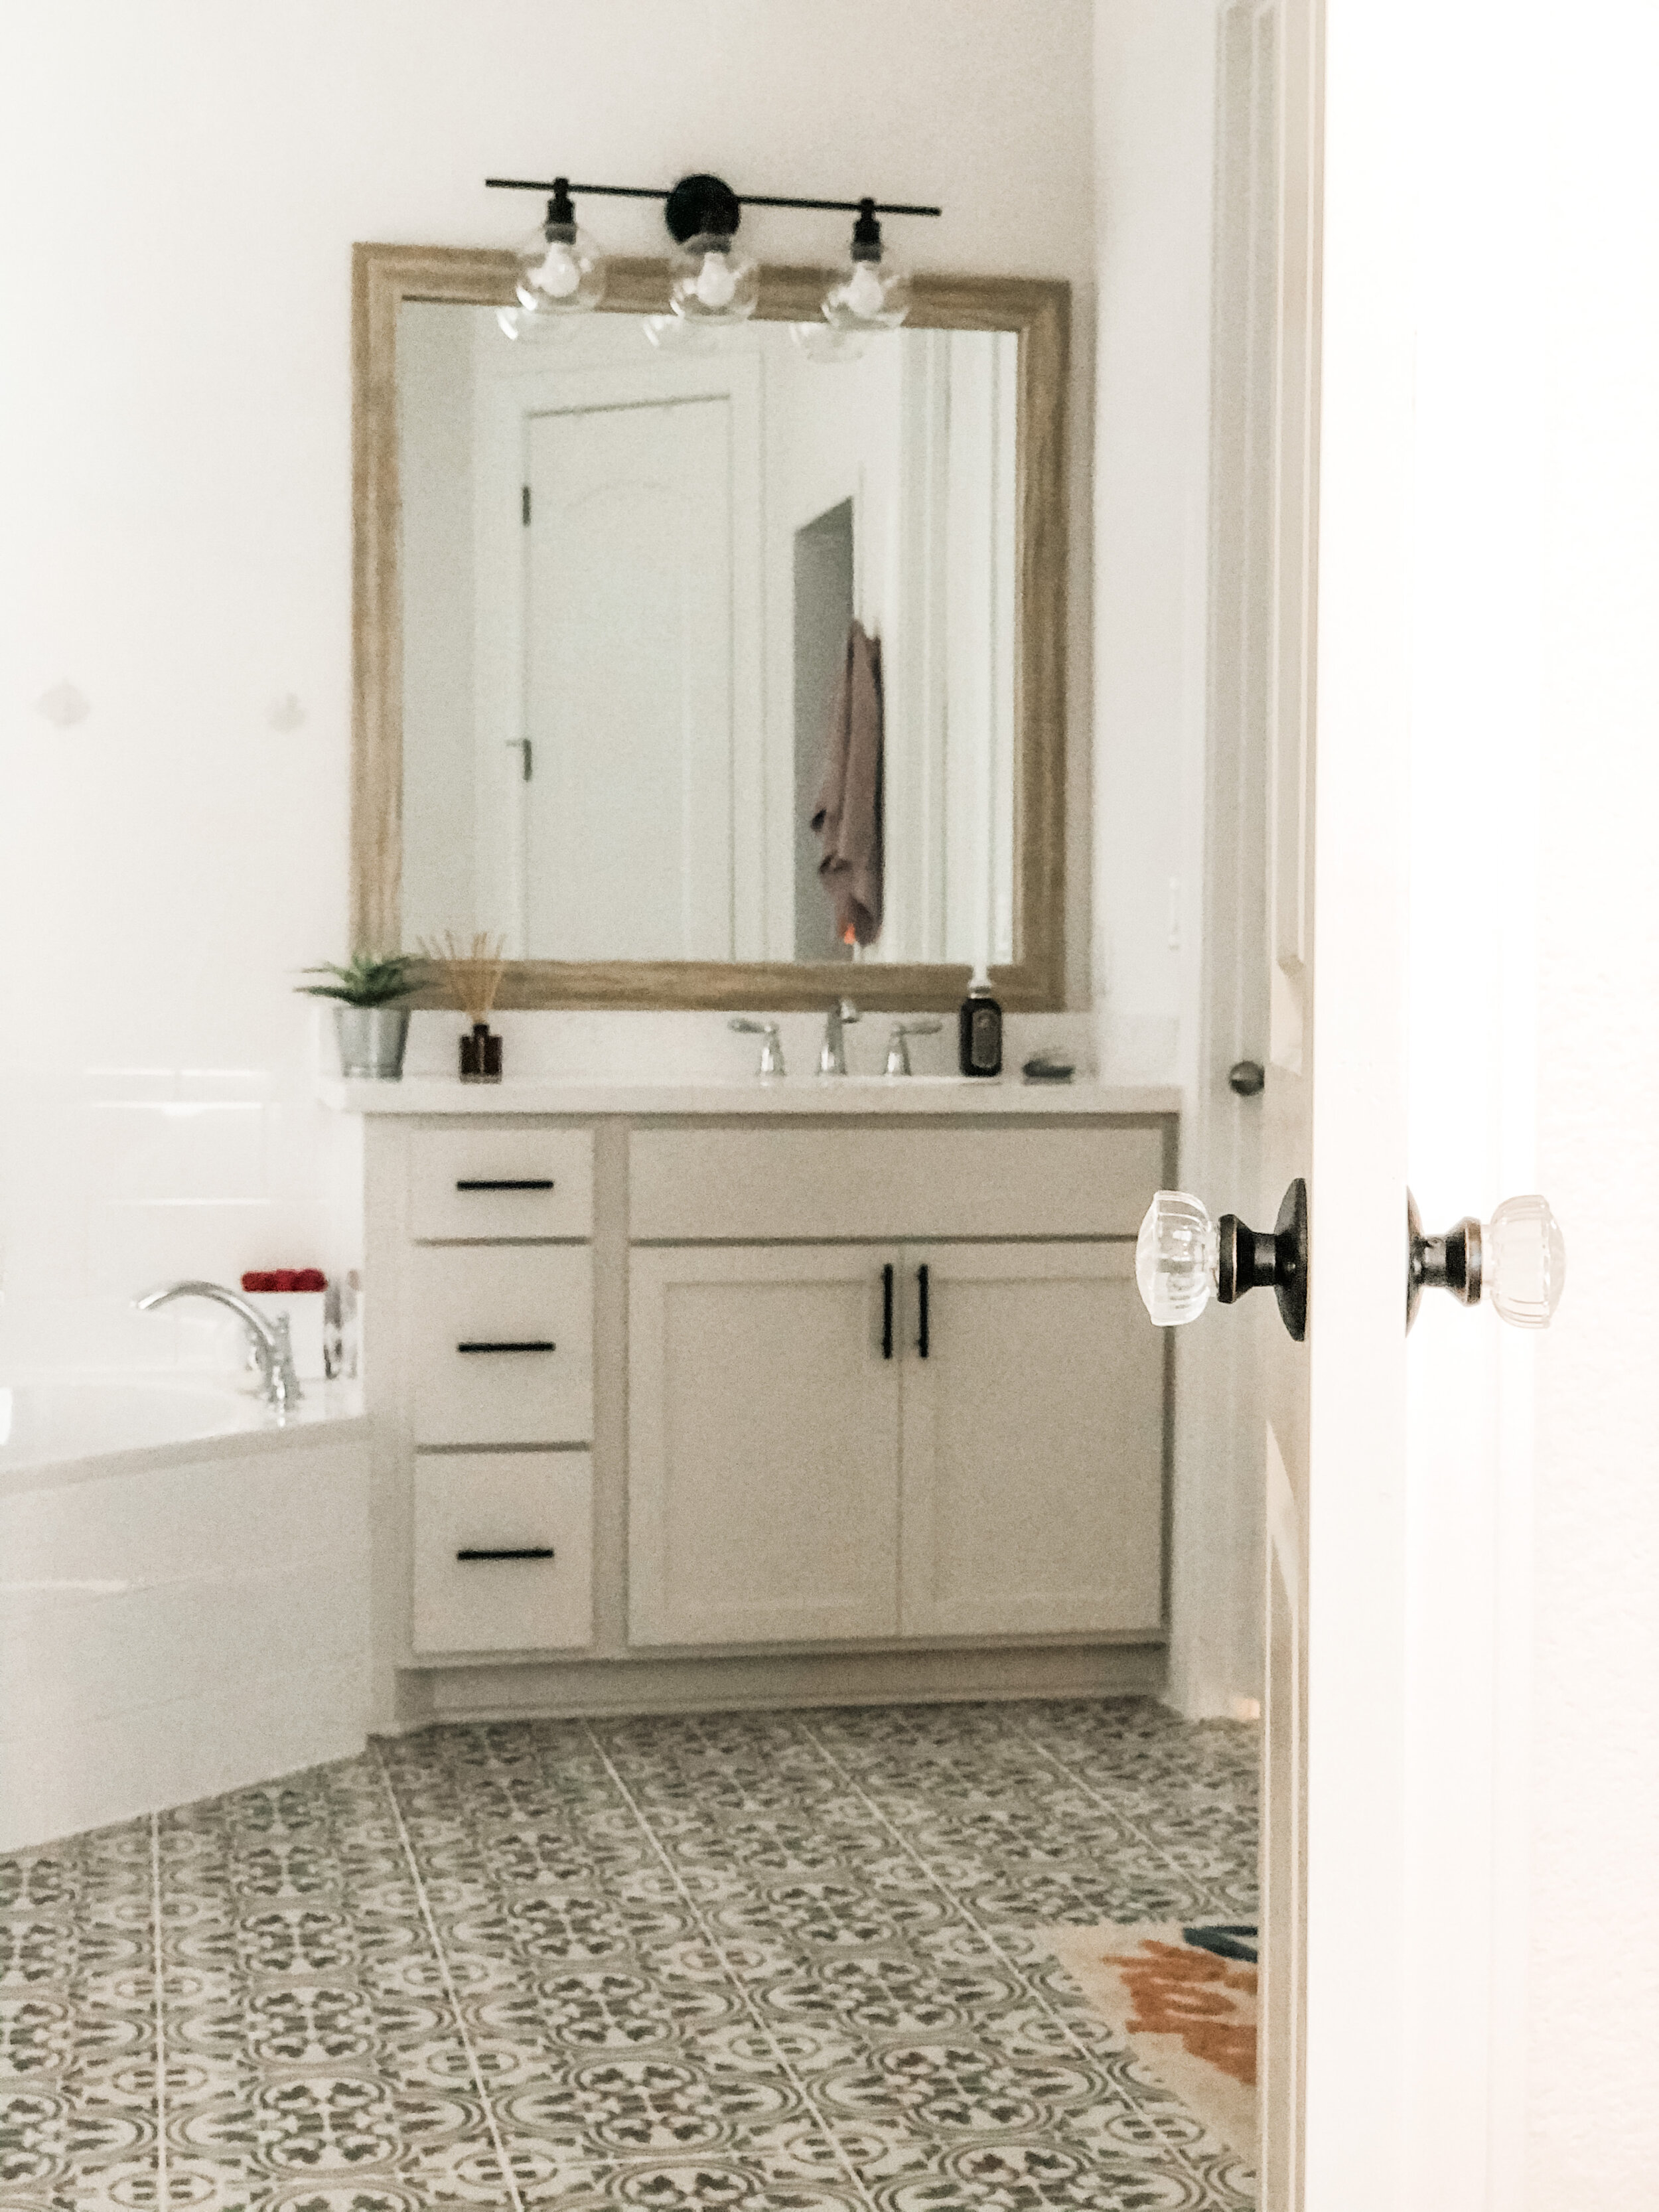
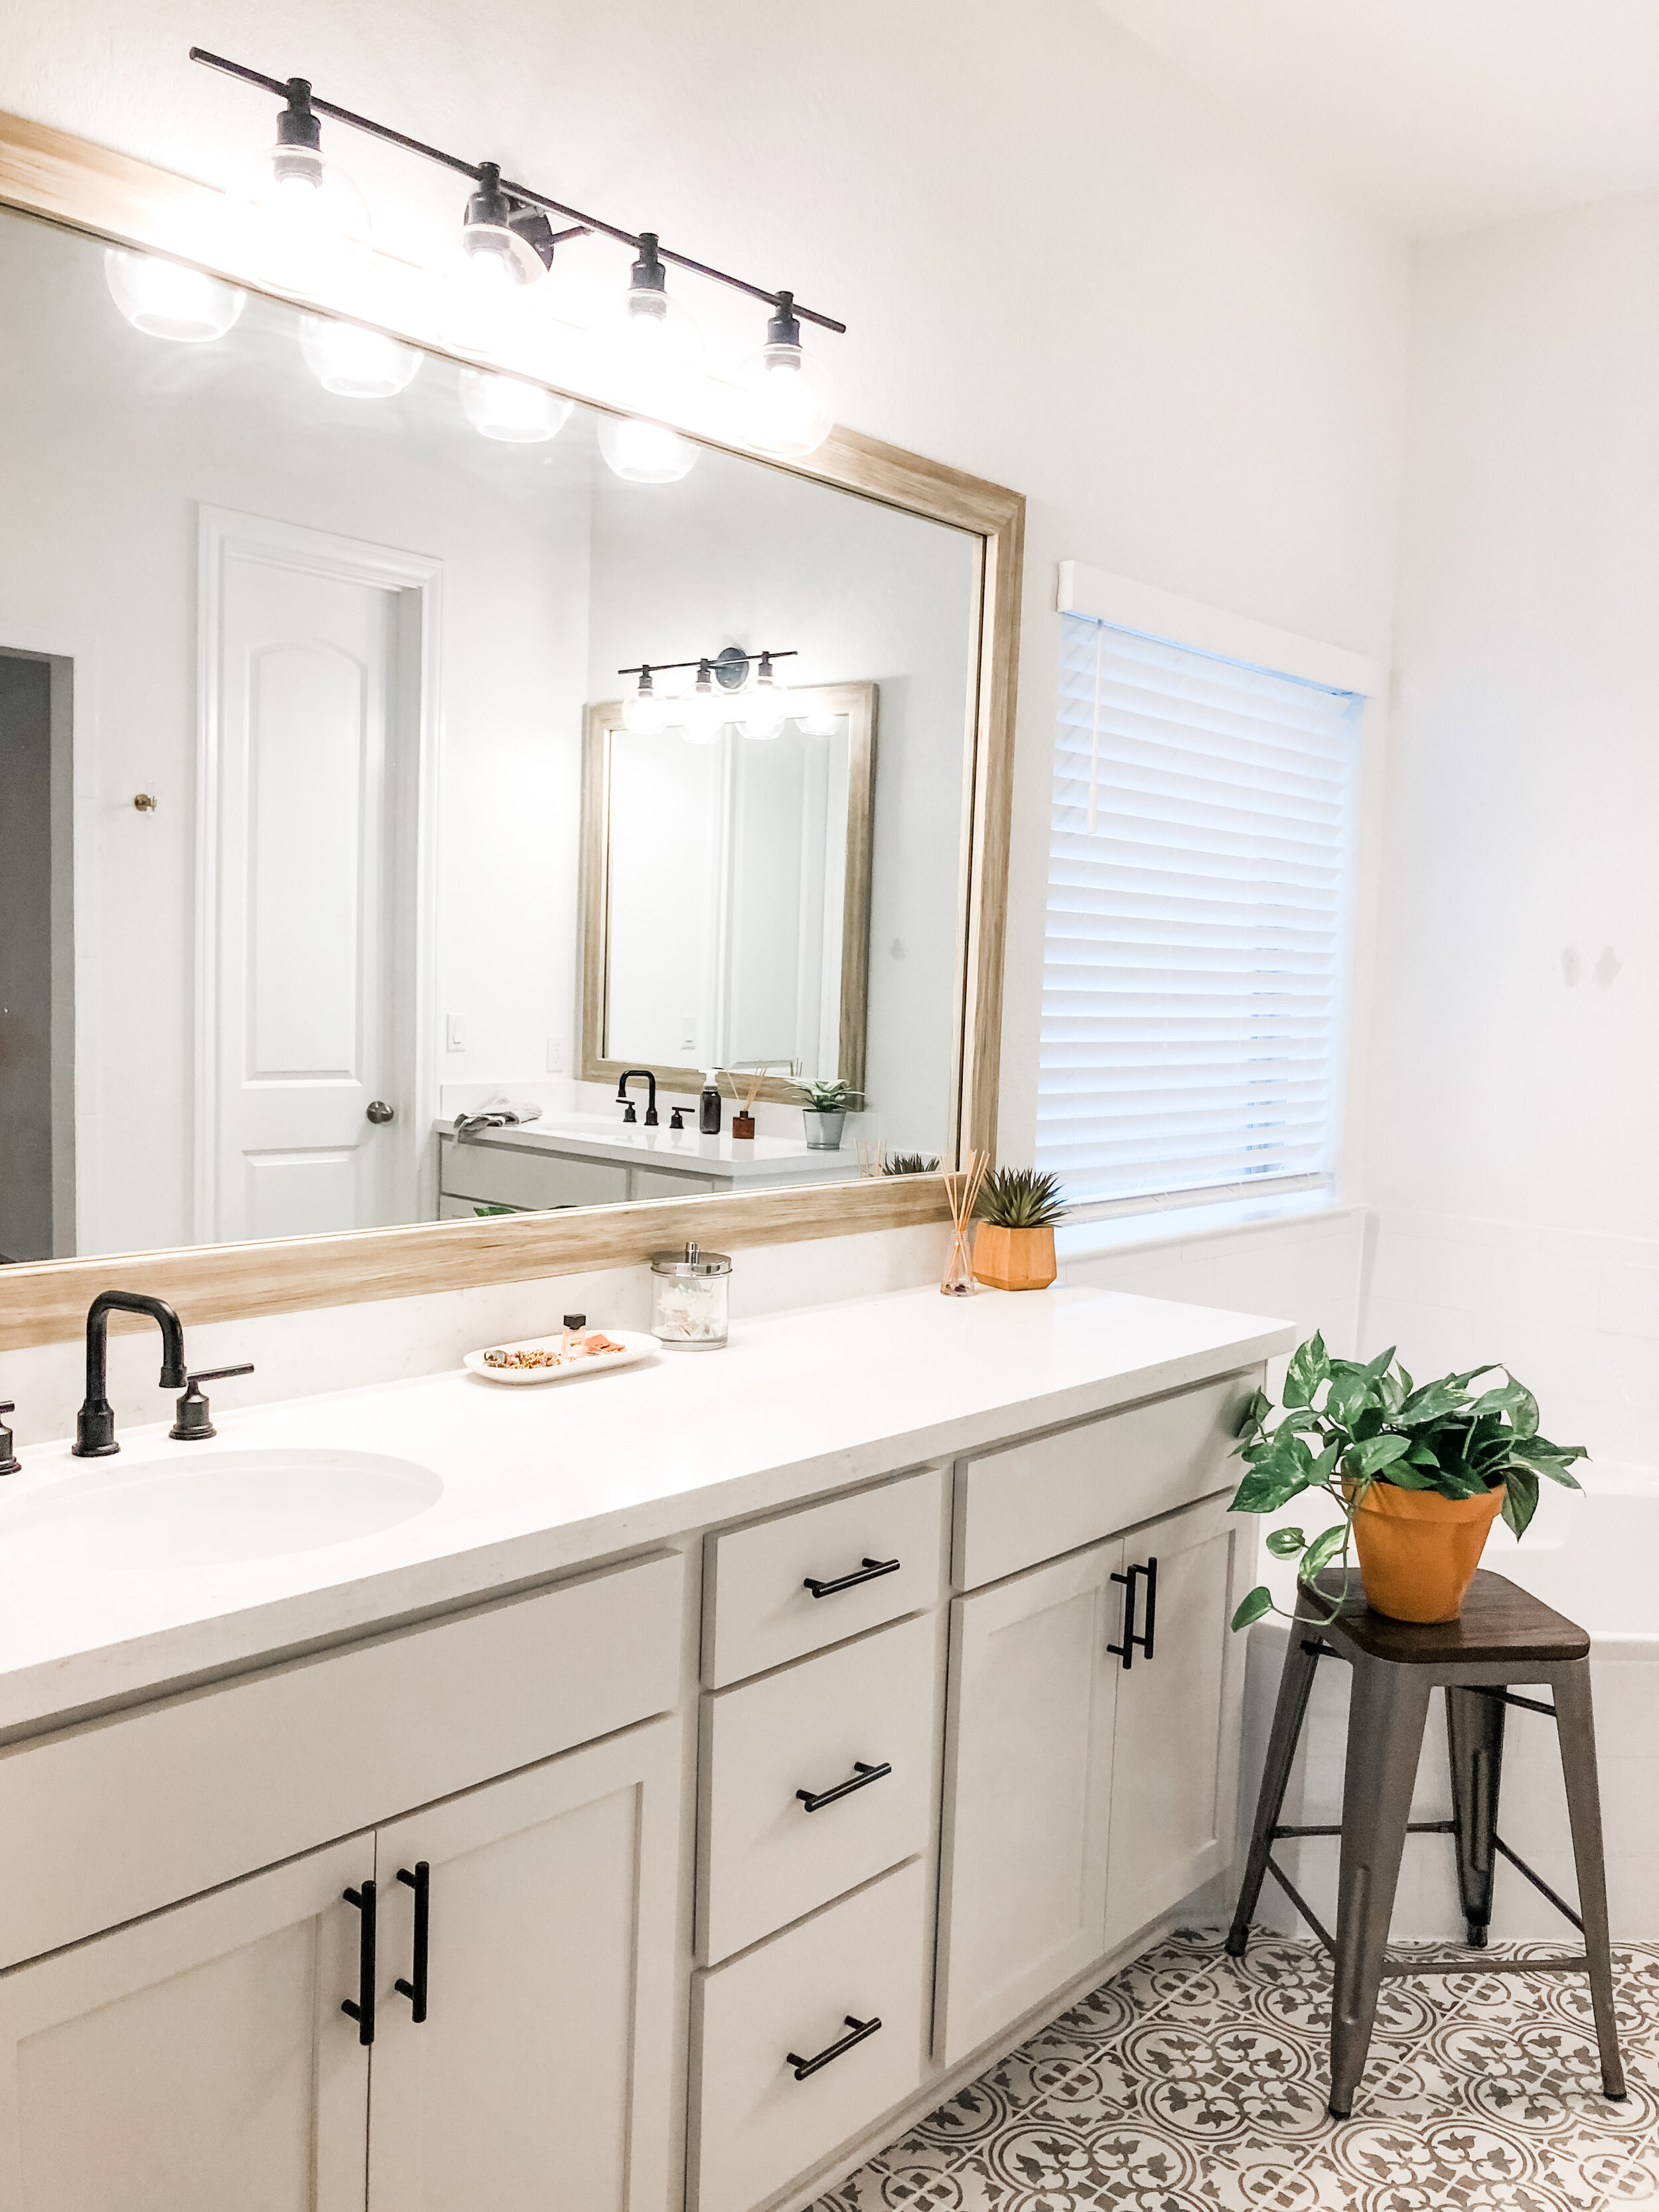
These matte black cabinet pulls were extremely affordable and purchased off of Amazon. We had the option of doing this through our builder, but doing it ourselves was cost-effective. Not shown in this picture is our matte black towel ring (shown in the builder grade chrome). These are about $15 on Amazon as well. While I searched up and down for unique ones, I concluded that they are just towel rings and will be hidden with a towel anyway! Save money and put it somewhere noticeable, for example, the faucets. This photo above shows the builder grade chrome, but we upgraded to this modern matte black faucet from Amazon.
The light fixture! My favorite so far in the bathroom. We instantly removed that ugly chrome builder-grade light fixture and upgraded to Wayfair's Vallie 4-Light Vanity light (on my side) and the Vallie 3-Light Vanity light on Nick's side. This made a huge difference! See below (you can click HERE, and all the items are linked for easy shopping!)
In this photo, you can see the almost done master bathroom. I have said this a number of times to friends— if this was our "forever" home, I would take the bathtub out and put a stand-alone tub, lol. Instead, I have opted for, again, a matte black Gibson MOEN tub faucet that matches the sink faucets. Our faucets are already MOEN, making the switch to matte black easier because we did not need to purchase a whole new valve. This was something I wish we knew for our faucets; however, we figured it out... I mean, Nick figured it out, lol. The Matte Black Gibson Tub Faucet is on its way, and I cannot wait to show y'all!
Above the bathtub, we replaced the builder-grade chrome towel rod with a floating wooden shelf from Target. I never understood the placement of those things, unless to showcase your most beautiful towels….?! The quality is great, and the price was even better! Under $40! This is the larger size. I have purchased the smaller size for other spots in our home.
For the mirrors…the mirrors came as just a standard mirror with no frame. Instead of buying a whole new mirror, we used a company called Mirror Mate. Mirror Mate offers custom-sized frames at such affordable prices. The frame we went with was called Cherokee Montauk Sand Frame. The frame looks like bleached wood, which was the look I was going for. With Mirror Mate, you simply measure your current mirror (instructions can be found on Mirror Mate's website), order online, and receive parts in the mail. You'll install the frame by gluing and piecing together the parts, SO EASY! Then, you place the frame on top of your mirror. Easy peasy!
I never really show photos of our cave shower because… well, it's full of my products! Here is a picture of it:
Our shower is somewhat of a work in progress. It needs some sort of shelving system to organize our (ok...my) products. The showerhead and turn knob will be upgraded to the Gibson Matte Black Shower Head and Knob. In fact, it should be here today! I'll be able to post an updated photo soon. I placed a funky bath mat from Urban Outfitters that says "Get Naked" to add some color to our black and white bathroom. You can get the same bath mat here. Urban Outfitters also has A TON of super cute bath mats.
Oh! One other fun and minimal change I made to the bathroom was updating the handles to our French doors. Eventually, I will replace the two in the photo of the shower, too.
This was a fun and random bathroom update but definitely gave the door some character. The crystal knobs were easy to install; I even did them myself, lol! I purchased them on Amazon, and they were under $10, but excellent quality!
I will update y'all when the MOEN Gibson Tub Faucet and the MOEN Gibson Showerhead come in and the installation process.


