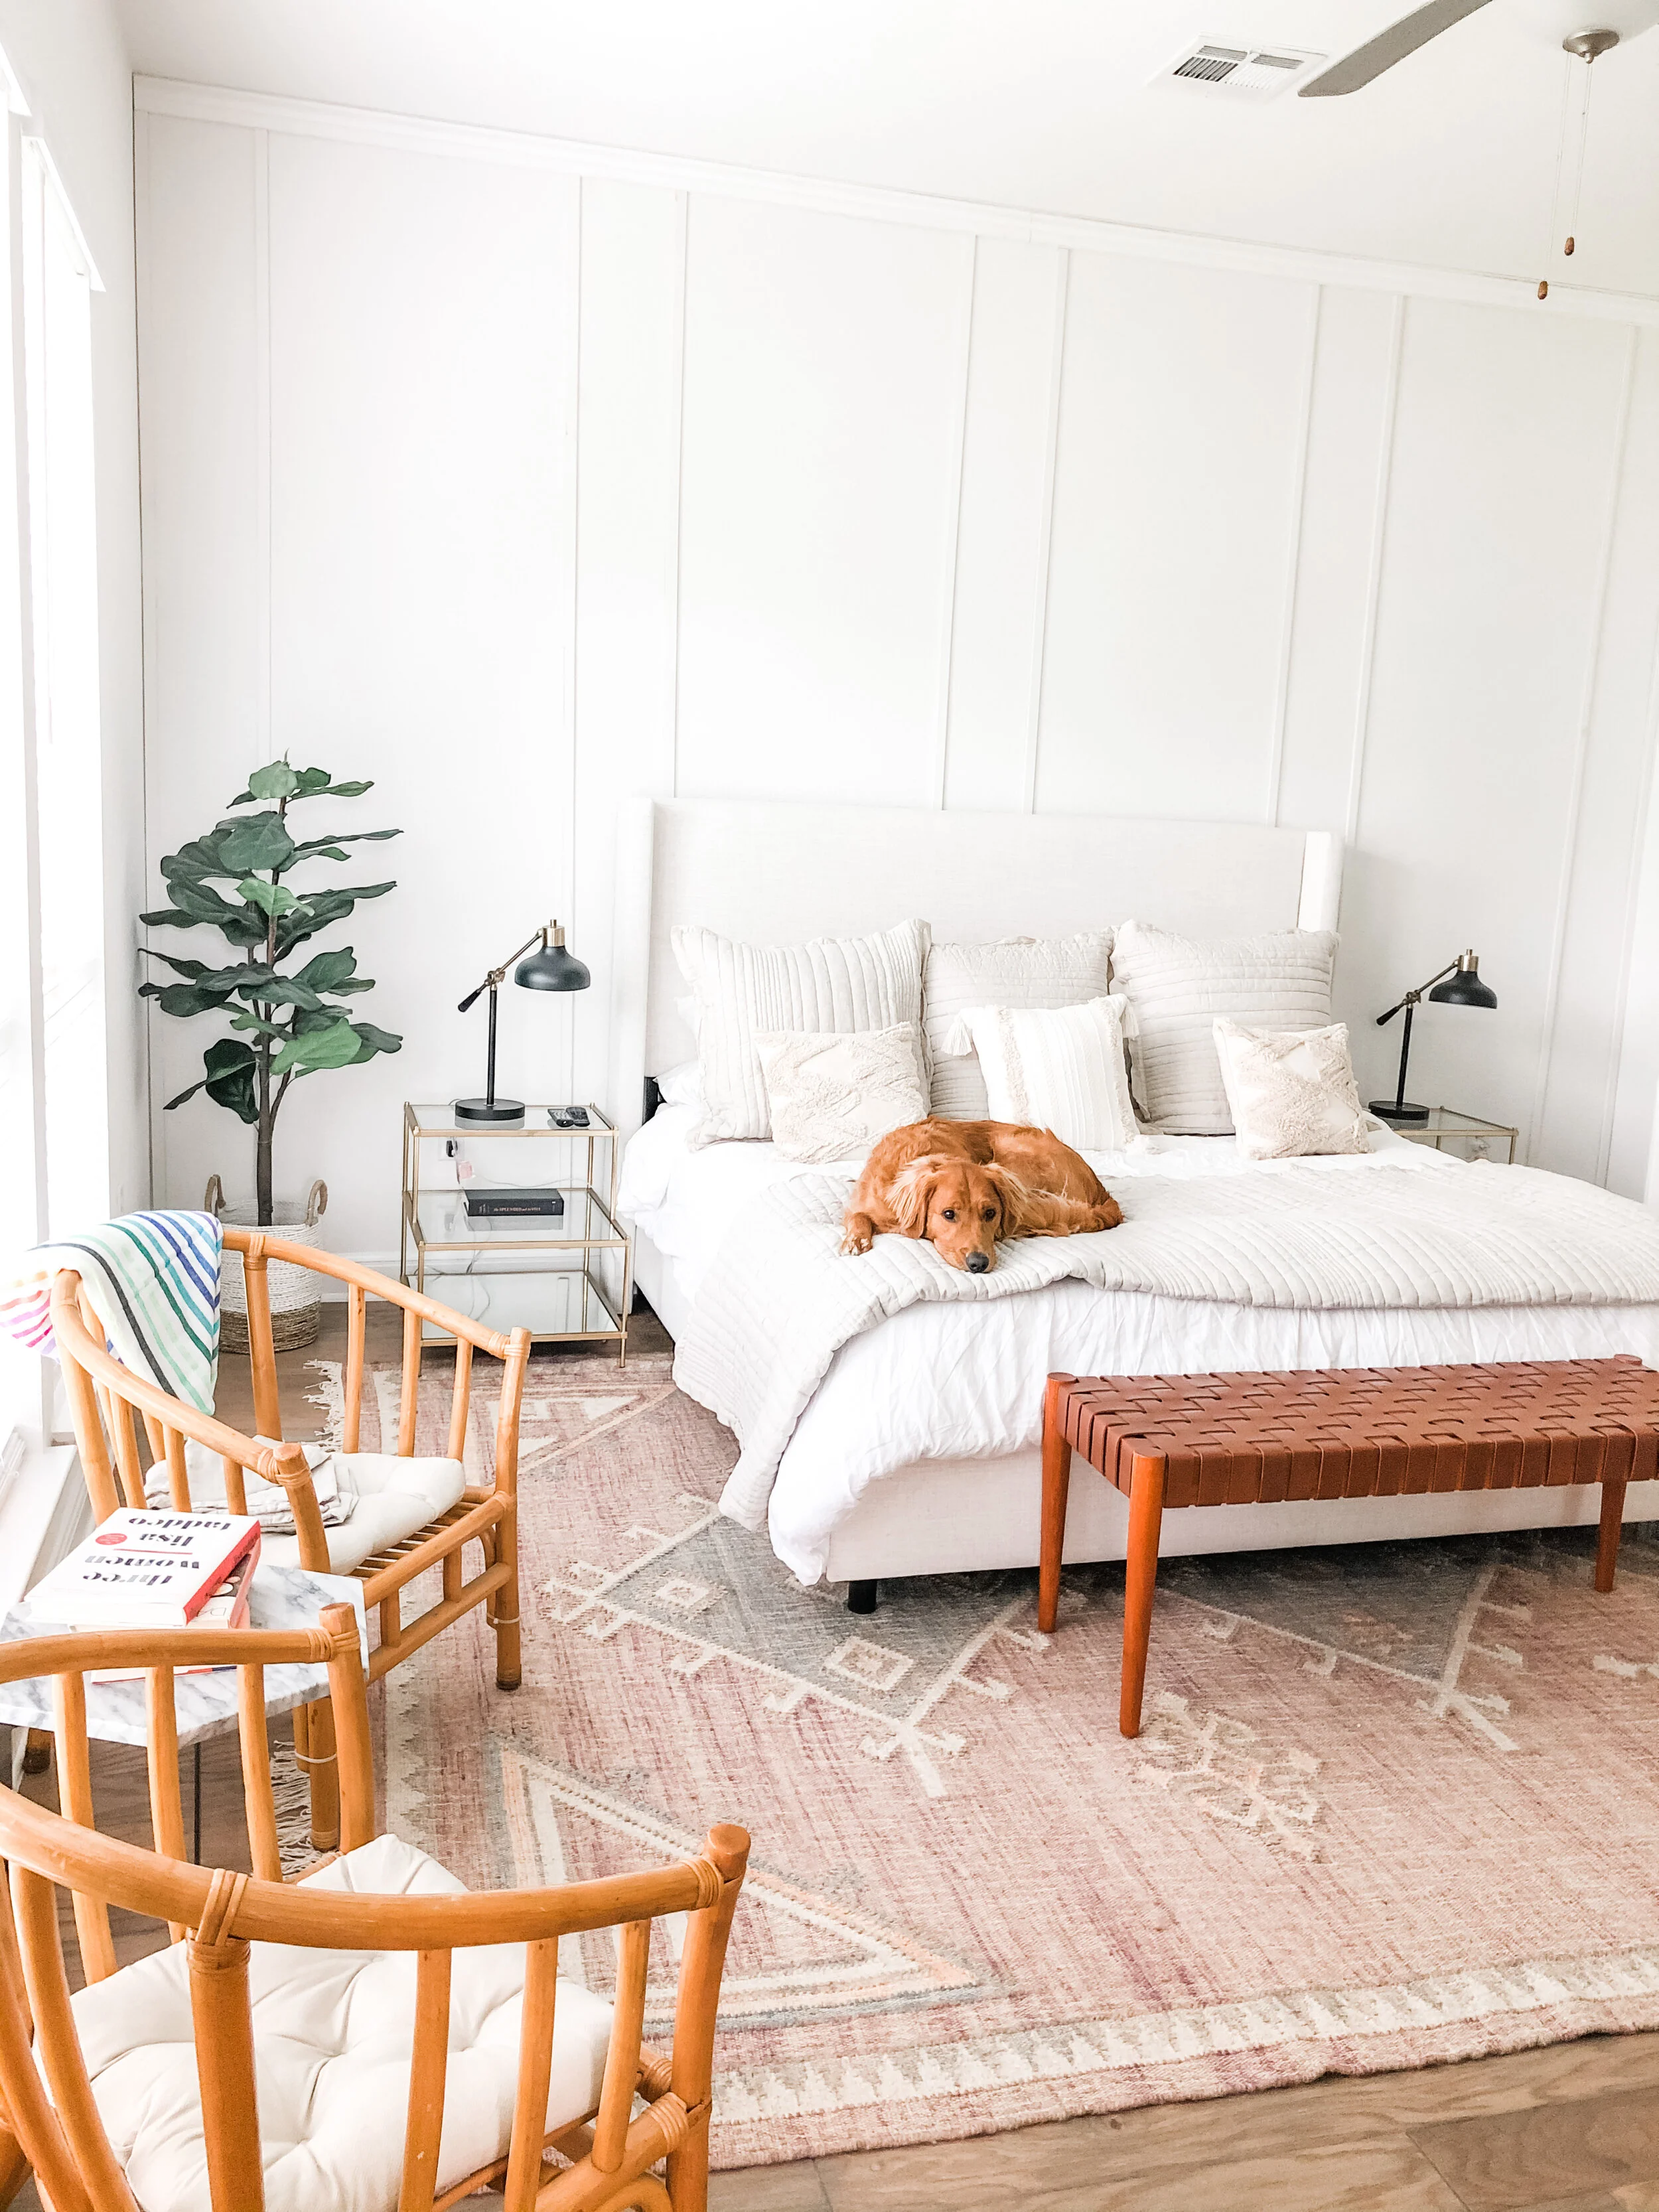
Easy Master Bedroom Panel Wall Update with 4 Steps
/A few weekends ago my husband and I had an idea to spruce up our master bedroom. We have received most of our main pieces of furniture, our bedding and our rug, but the back wall was missing something. We opted to get all white everything in our new house so that we could start with a blank canvas. I was scrolling through Instagram and Pinterest coming up with a thousand ideas of inspiration when I came across one photo (from @collectivco / @anitayokota ) in particular that made me say, “I could totally do this to our wall!”
So, I opened up Youtube and starting gathering everything we needed to create this wall. Surprisingly, we did not need that much!
-Nail Gun/Brad nails
-Strips of wood/baseboard/trim- whichever width you prefer (I loved this photo so I stuck to thinner pieces)
THIS is what we used for the top.
THIS is what we used for the panels. (lattice, lol)
-One piece of trim for the top of the wall
Initially, we went to Home Depot, bought all the supplies- totaling about $250. We had bought a nail gun, but realized when we got home that the gun we bought was not battery powered. This sparked another idea… why don’t we use 3M tape instead, at least to start, and then we can nail it to make it more perfect. That is exactly what we did! We returned the nail gun and used 3M double sided tape to stick the panels.
First step we did was create a template based on our wall’s dimensions. Nick was the expert at this.. because, I will be honest, I suck at math and trying to figure out the panel placement was giving me a headache.
Next step was cutting each piece of wood to match the size of the height of the wall. Each panel we got was about 16ft tall, our ceilings are 14ft ceilings so we had to cut each panel.
Then, we measured and marked the wall where each panel would be placed.
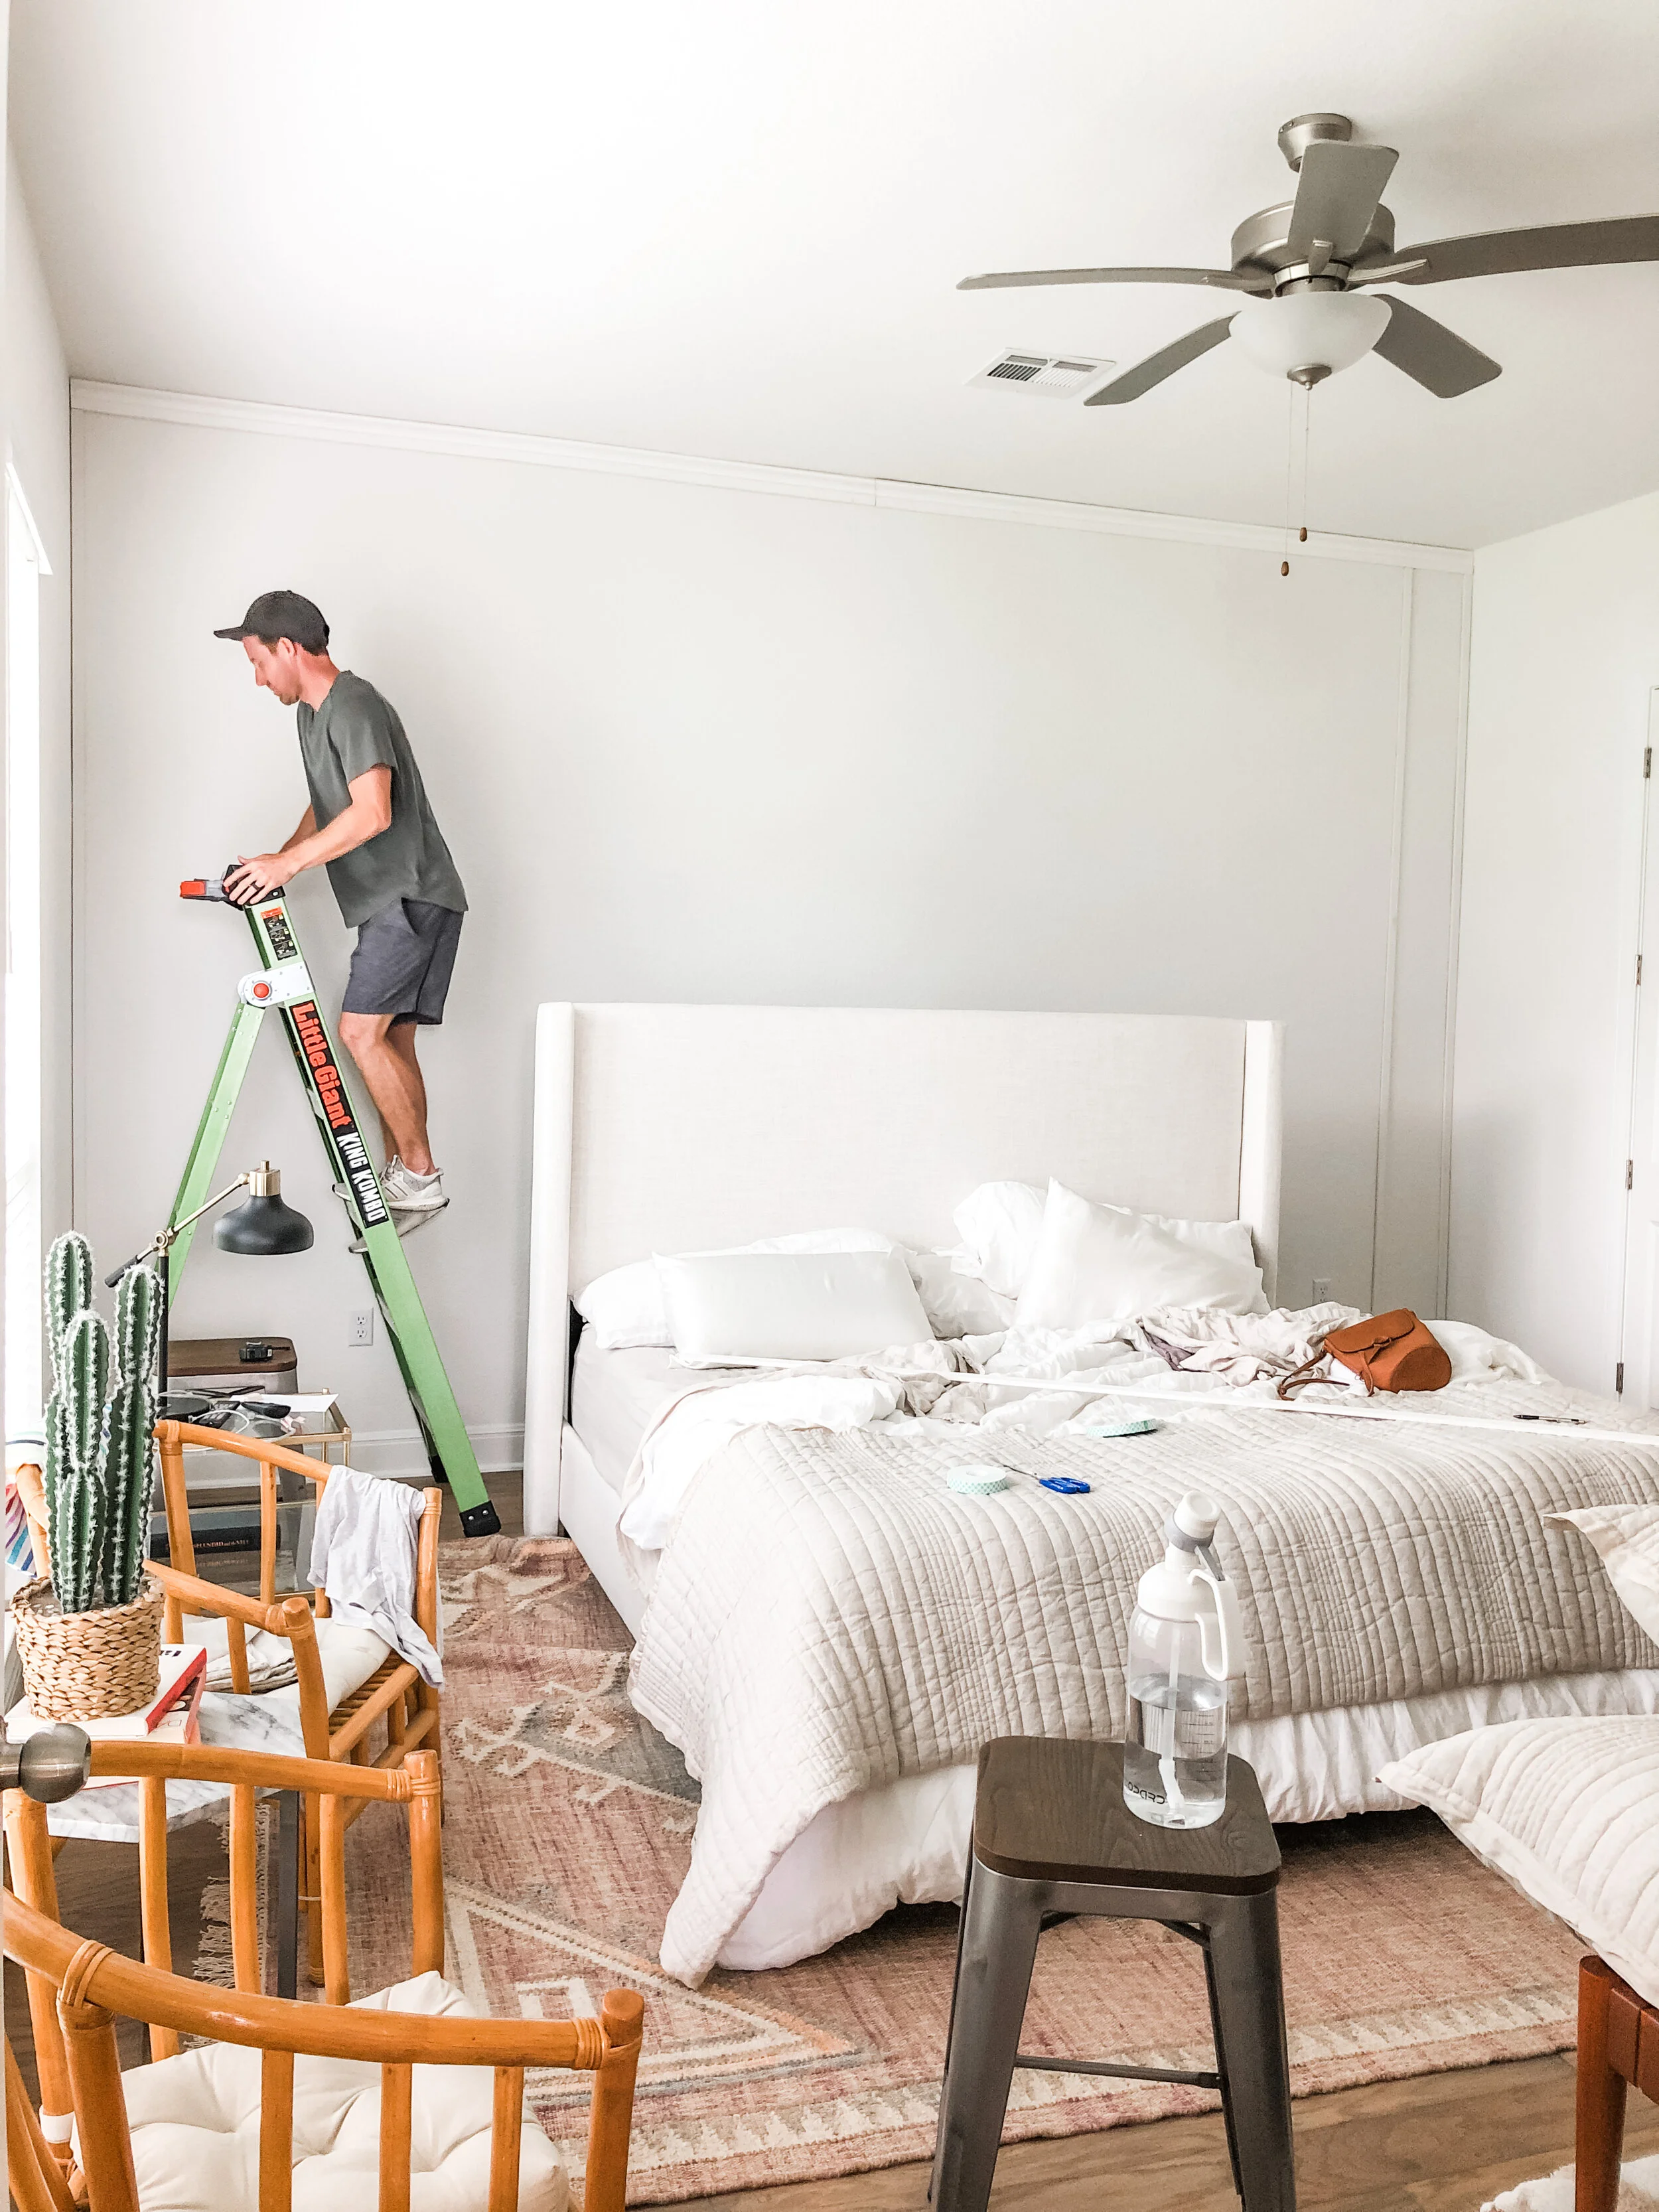
First item placed was the trim along the top. We cut this in half that way it was easier to place. It was interesting to see how uneven our walls actually are. Just looking at them, they do not appear crooked. Once placing “straight” items on them, man… they were super crooked! You can sort of see in the photo. Later, we fill the gaps with wood filler/caulk.
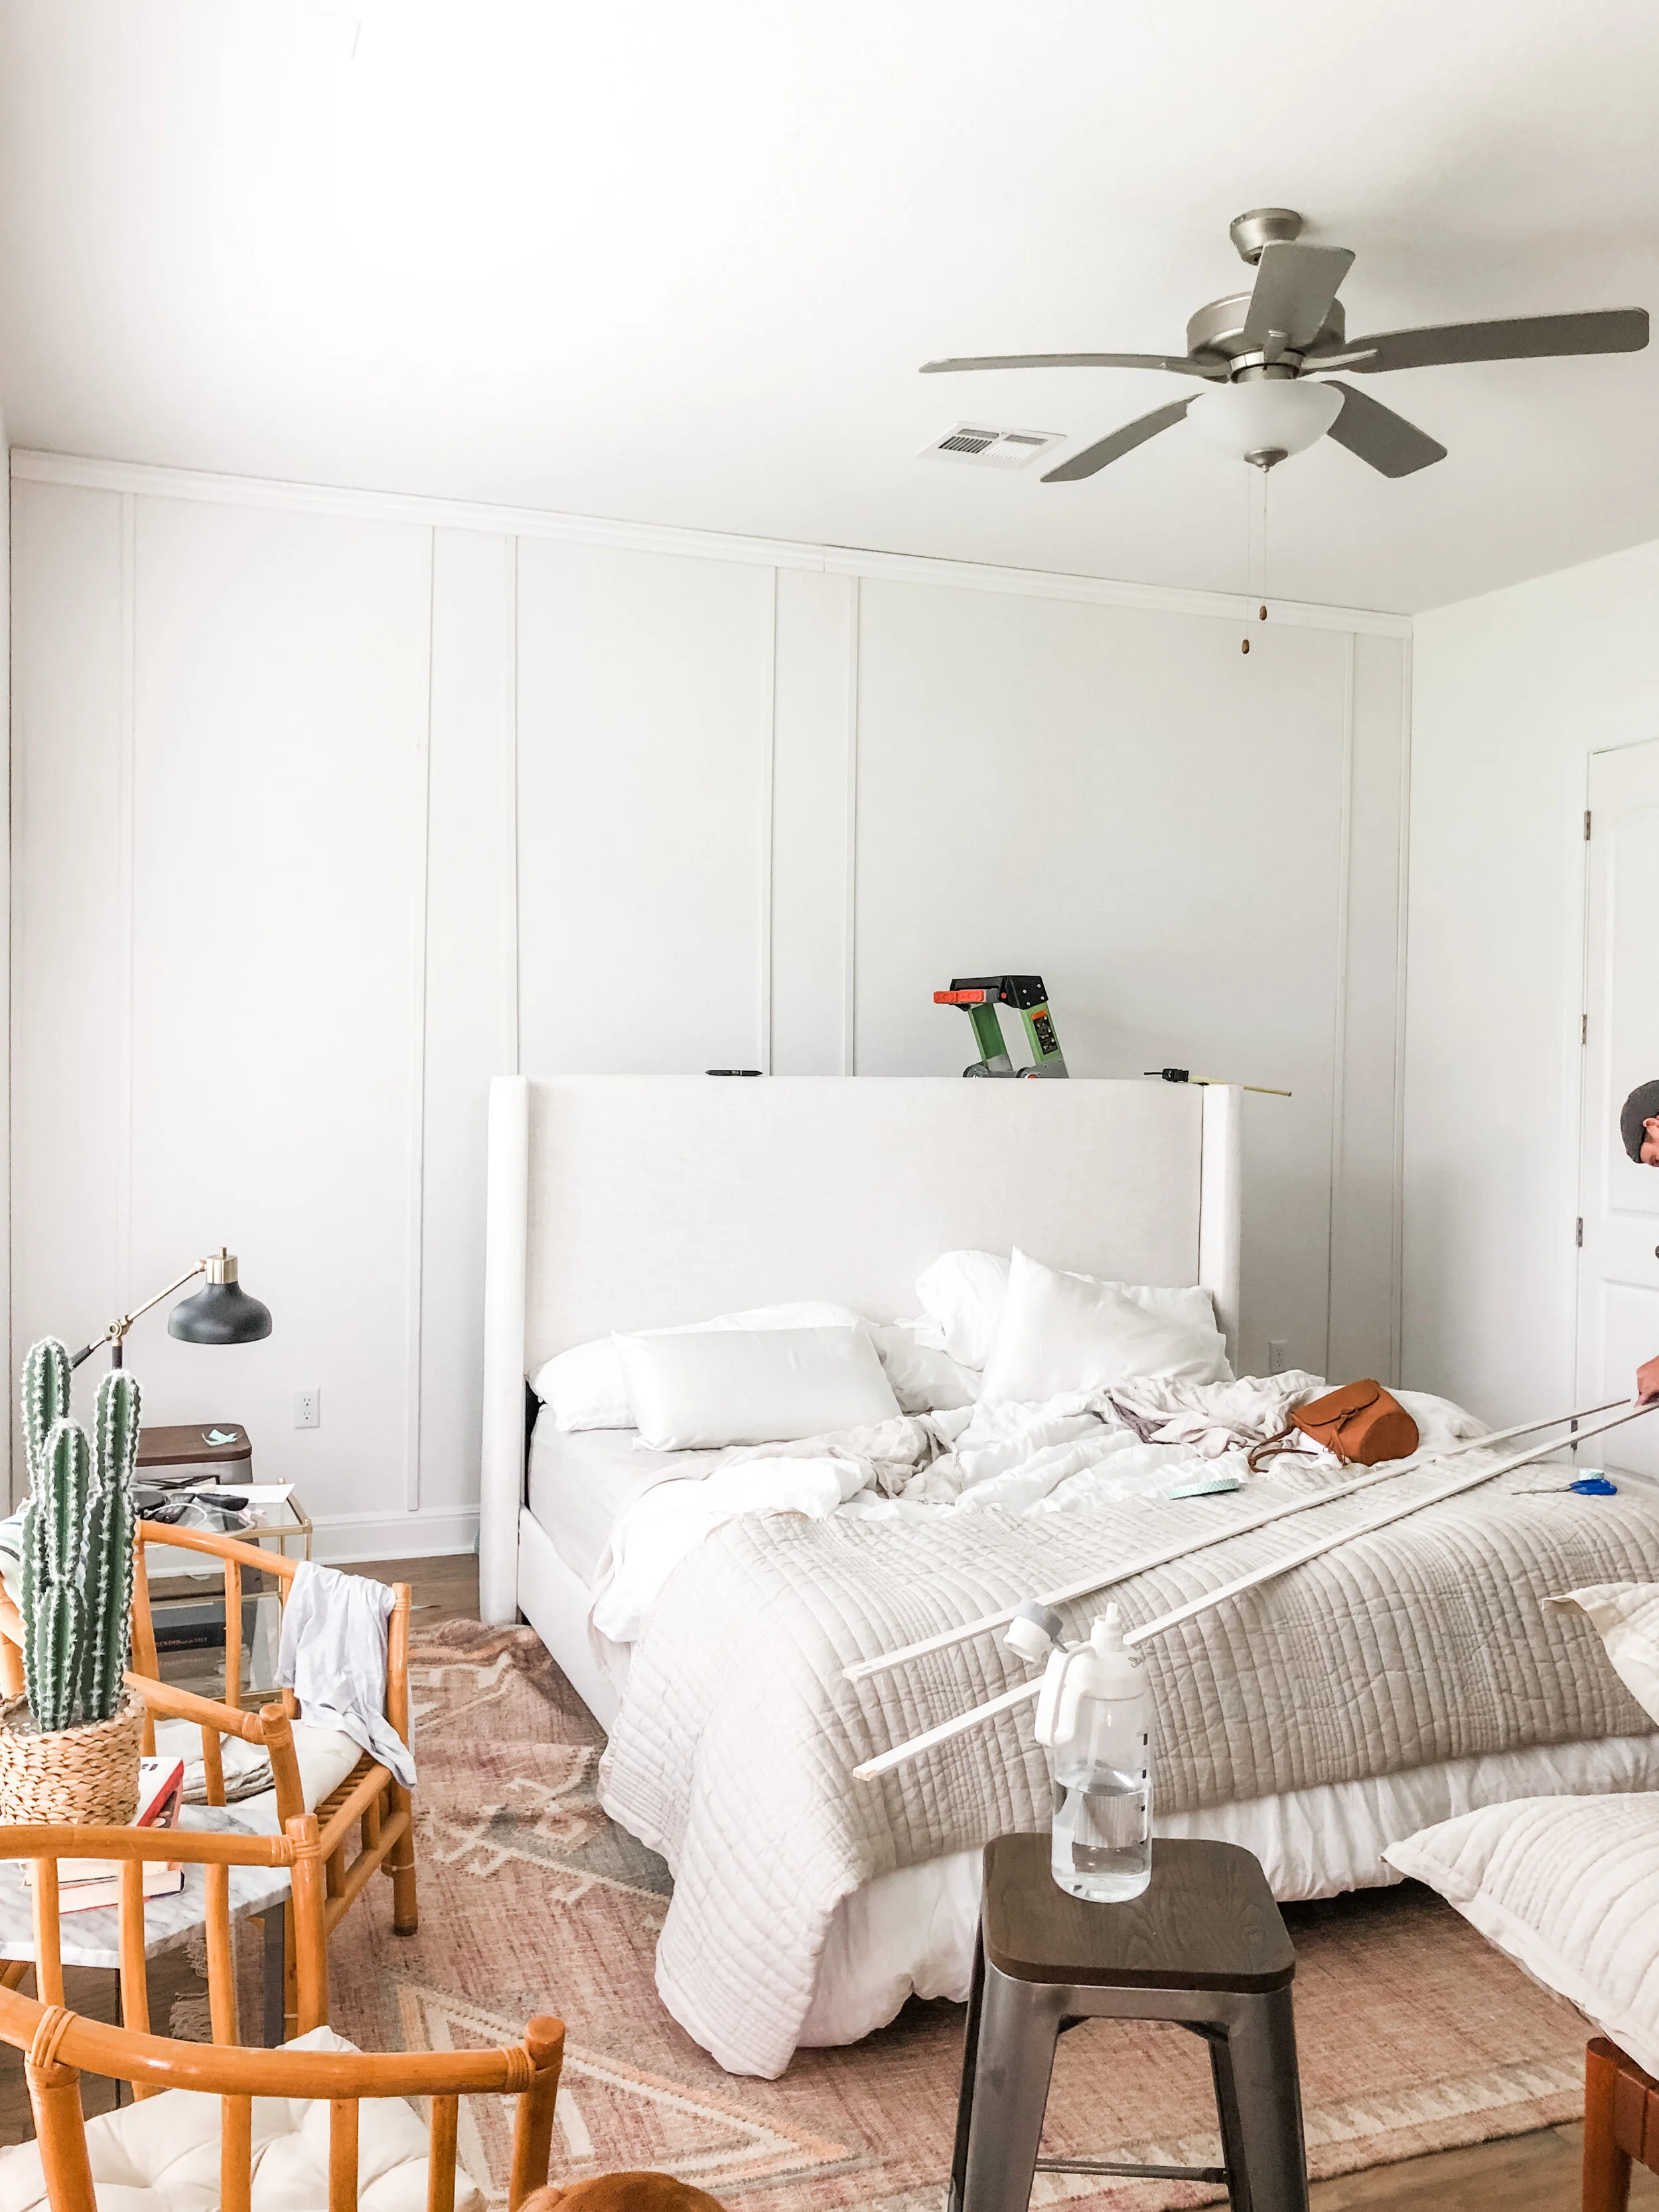
Once the trim was placed, it was pretty much smooth sailing from there! We started from the outside and worked our way towards the middle.
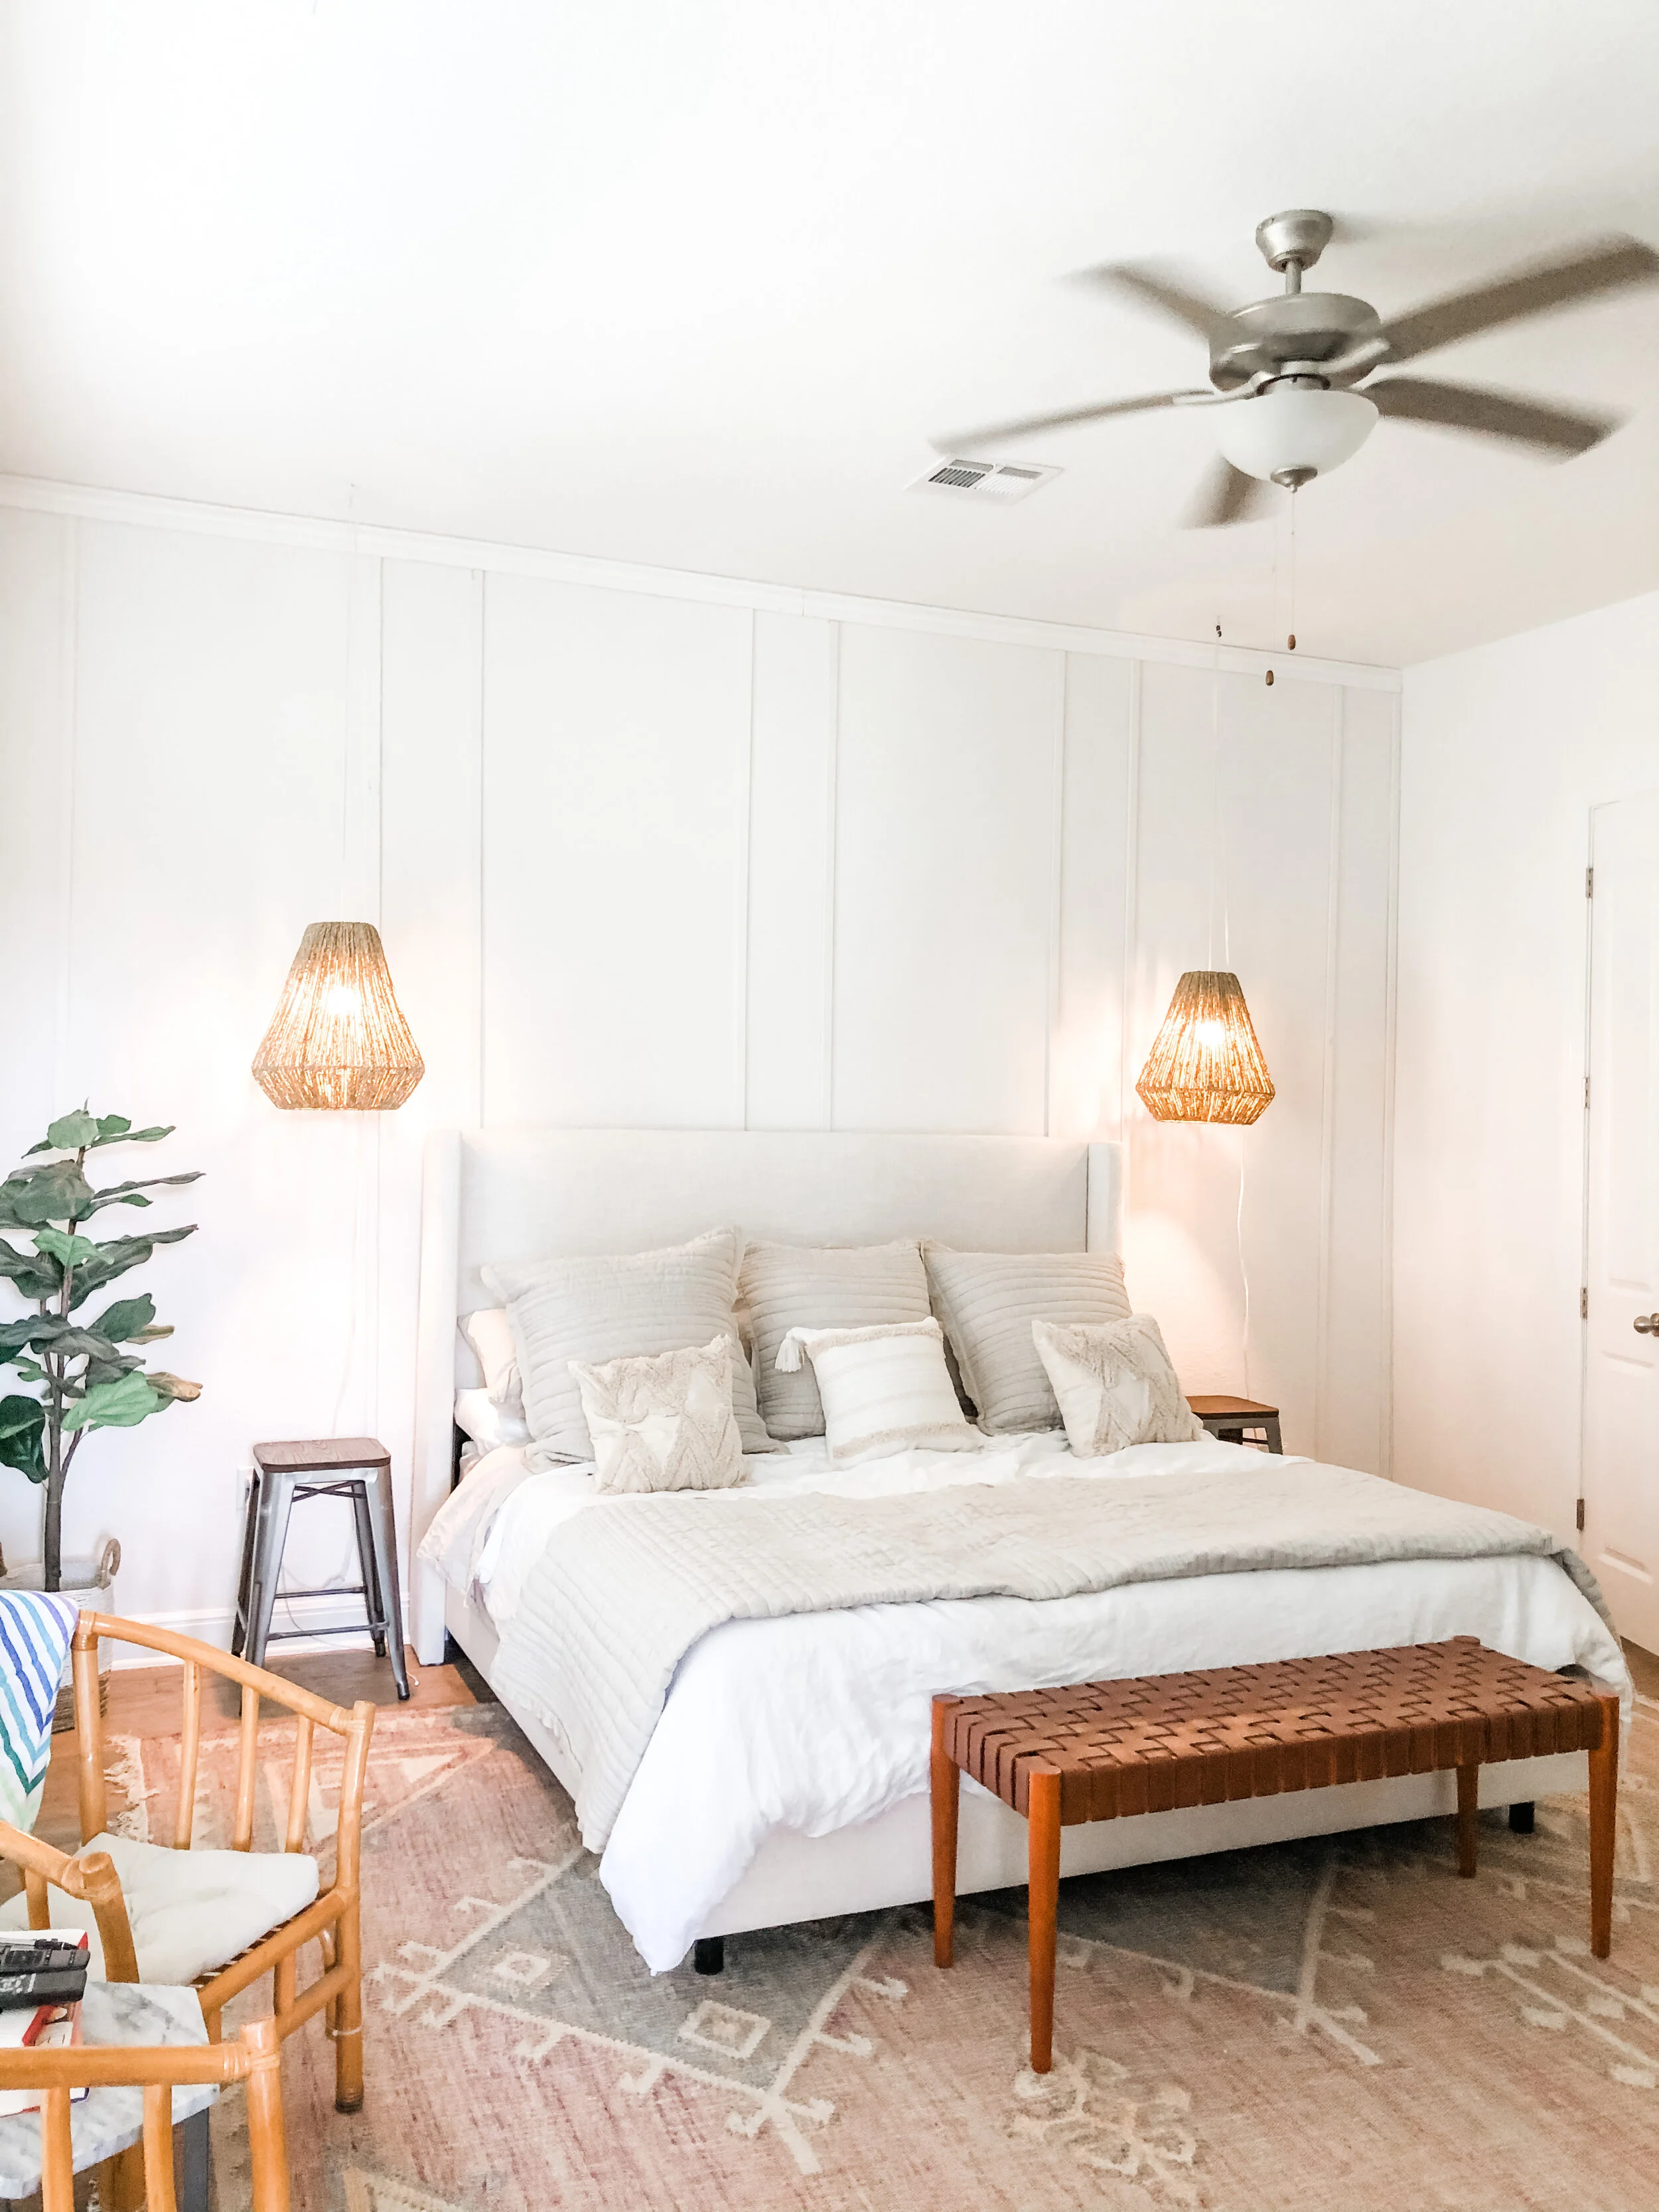
This project took us about 3 hours to complete, start to finish. There is still a little work that needs to be done, but we love how it turned out! I have linked everything in our bedroom right HERE.


